

A VPS is a virtual computer that people can rent for a fixed monthly price. A VPS provider takes a large, powerful computer and splits it into smaller less powerful virtual computers. People can customize their computer based on the needs of the node network.
Running a BlockBot or Node requires a stable internet connection and enough computing resources to run the software. Rather than having to buy a computer and dedicate it to running a single BlockBot or Node, a license owner can rent a VPS as a computer to use. A good VPS provider can provide up to 100% guaranteed uptime.
It is often more cost effective to rent a VPS, rather than spending the money to buy a dedicated machine for each BlockBot and Node. Pricing can vary based on the provider, but a reputable provider can offer much better uptime than hosting at home. Some BlockBot owners may have bad internet connection or inconsistent power, so using a VPS may be the best option for them.
VPS Setup
Step 1
Head to https://www.vultr.com and create a Vultr account.

Step 2
2a. Once you have created your account, you will need to fund it to pay for a server. Choose a funding source from the options below.

2b. Verify your email address. You may have to wait for extra account verification after this step. Be patient!

Step 3
On the Products page, click the plus sign to begin the purchasing sequence.

Step 4
4a. Select the server of your choice. Cloud Compute should be sufficient in most cases.

4b. Choose your preferred technology for storage and CPU. Regular Performance should be adequate for running a node.

4c. Select a server location. Typically the server location closest to you is the best option to choose.

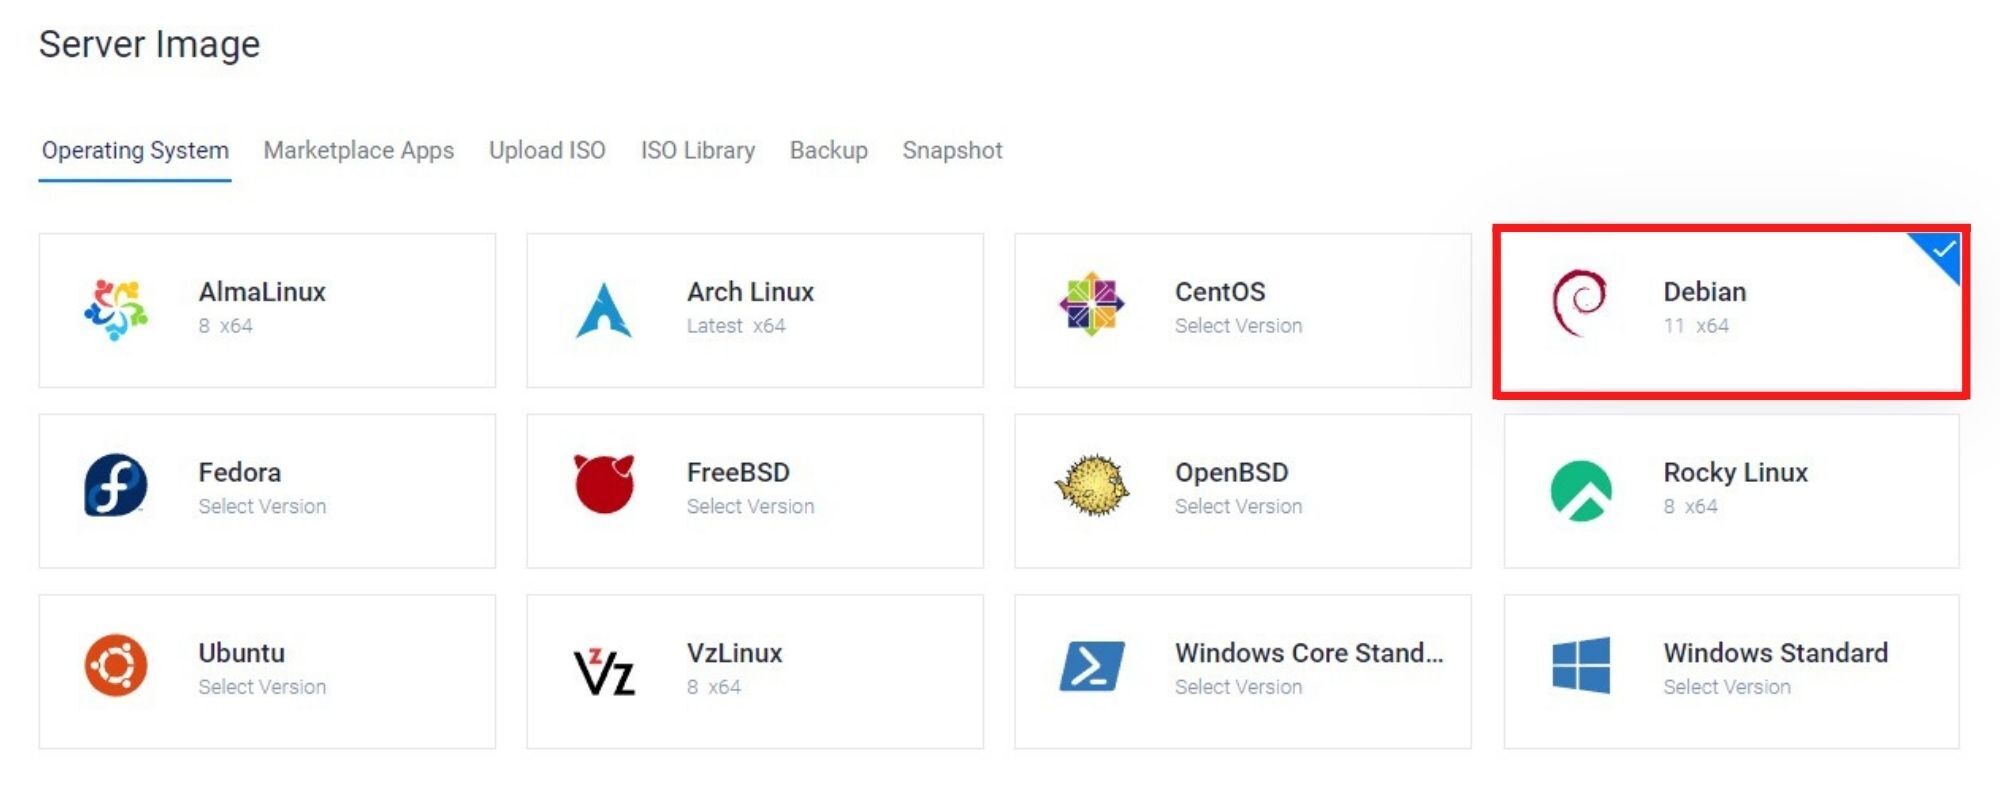
4d. Choose a server type. For this guide we will be using Debian 11×64.
4e. Choose a server size. The $5 per month server is sufficient options for most cases. You can always upgrade this at a later date.

4f. Choose if you want to add auto backups. This is not required and we recommend turning this off.

4g. Give your server a logical hostname/label and click Deploy Now. This will begin the setup process for your server. It should only take 5–10 mins

Step 5
5a. Once your server has been provisioned, you will be able to access the server details via the server tab in the Vultr management panel.
5b. Click on the server name. This will take you through to the management page for that specific server. It is on this page we can get the required details to log in.

5c. Enter in root as the username and the preset password from your Vultr account.

If you have entered in everything correctly, you should now be connected to your Vultr server!

Node Installation:
Install AFTER your VULTR server has completed setup/configuration.
1.On the “Products” page, you will see the different server instances you have started, you will need to wait until it says “Running” under the “Status” column.
2. Click on the server name (what you name it during setup) and it will take you to the server Home Screen.
3. On this page, find the username and password, they will be needed. The username by default is “root”, copy the password by clicking the icon next to the hidden phrase.
4. To open the console, click the computer icon in the top right of the page.
5. The console will display one of two things:
- A bunch of words, if you get this press enter and it should ask for you to login.
- A prompt to login.
6. To log in, enter “root” as the username and press enter. For the password, there is a small gray button with an arrow on the left side of the terminal. Click that button and it will display a list of icons. Click on the clipboard icon, and paste the password you pied earlier into the text box that appears. Click the “paste” button that appeared with the test box. *IMPORTANT* The password you pasted into the text box will disappear, but it will NOT display anything in the console, this is by design. Close the icon list by clicking the arrow button again, then press enter. If everything was done correctly, you should see a message that says you have logged in correctly.
7. Pick the brand you are wanting to install paste the following command into the console using the same method you did for the password :
bash <(wget -qO- https://static.switchrewardcard.com/softnode/switch-node_linux-amd64.sh)
- You may be prompted to install additional code to run the node properly, this will show up like “[Y/n]”, press “y” and hit enter.
- You may not be prompted to install additional code to run the node properly, this is fine! You get to move on without and extra step.
8. A purple/pink screen will be displayed, informing you that you are installing the node software. Hit enter. You will then be prompted to enter your email address for your SWITCH (or other brand) account, your password, and a name for this node. (We suggest naming it the same name as you did your same name during the Vultr setup.)
9. You will see the progress of the installation, then another purple/pink screen will display informing that the installation is finished. Press enter and your node should start! You will see an interface that will update every 30 minutes that will inform you on the node’s progress, status, and other node statistics.